Cheoreg – Armenian Easter Bread…

“Mum, I’m going to make Cheoreg”.
My mother’s reaction to this was not really a surprise – she blankly stared at me and responded with “why, when you can buy it?”
Traditions:
My family story can be viewed as a complicated one, and for a very long time I felt quite lost with my identity. It is only now, in my mid-thirties, that I can embrace my cultural background.
My parents are Armenian, yet I was born in Switzerland, and have spent a majority of my life living in Australia. A close friend of mine described me as being 70% European, 30% Aussie…I’d say that changes back and forth on a daily basis.
Growing up, I always felt out of place in my social circle and even in my family. It was

My uncle & nana who both passed away in 2012.
only when I met two of my Great-Aunts that I finally felt I made sense. My Grandmother (Nana) was the matriarch. She rarely smiled. She rarely hugged us. Nana was a tough lady that we all truly believed would outlive us all. To this day we do not actually know how old she was when she passed away as she had no papers when leaving Iran and created some ‘younger’ birthdate.
But Nana was the one who followed the Armenian traditions, and when she passed away in 2012 so did the Armenian family gatherings. 6 months later, my wonderful Uncle passed and my already very small family was halved.
This year I wanted to bring back these traditions and so hence why I decided to make Cheoreg. What’s Cheoreg? Armenian Easter Bread.
Armenian Easter:
The traditions we celebrate are not about religion. Two things I love about Easter is the decorating of the eggs and the pilaf with crispy potatoes. We also eat kuku sabzi and smoked cod.


This year I also decided to make Cheoreg, which I have never made before. The recipe itself is easy to follow, however it’s a lengthy process, and to be honest it tasted amazing, but I’m not sure I got the texture right, and I think I didn’t bake it long enough. But then my family & friends polished it off pretty quickly! I hope my Nana would have been proud. The fragrance while baking filled the home, so overall I am really happy I made it – will attempt again next year 🙂
One of the ingredients is Mahleb which I purchased from the Lebanese/Armenian deli in Willoughby – but I think is available at most Middle Eastern supermarkets.
* This recipe will make 3 loaves.
Ingredients:
- 1 cup milk
- 1 tablespoon sugar
- 1 packet active dry yeast or 2¼ teaspoons active dry yeast from a jar
- ½ cup butter (1 stick)
- 5 large eggs (+ 1 yolk for the egg wash)
- ¾ cup sugar
- 1 tablespoon vanilla extract
- 1½ tablespoons ground mahleb
- 6 cups all purpose flour + ½ cup for kneading
Method:

Add 2 cups of milk to a heat-safe jug and microwave for 1-2 minutes. Add 1 tablespoon sugar.
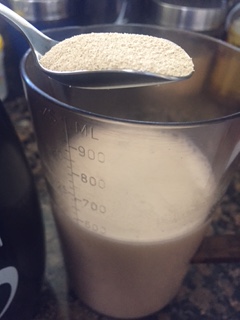
Add 2 1/4 teaspoon of dry yeast and stir mixture. Let sit for 25-30 minutes.
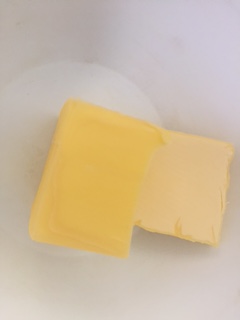
In a separate bowl add 1/2 cup of butter and melt.

Leave melted butter to sit for same time as milk mixture.
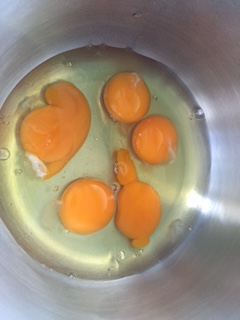
In a large bowl, add 5 eggs

Add 3/4 cup sugar
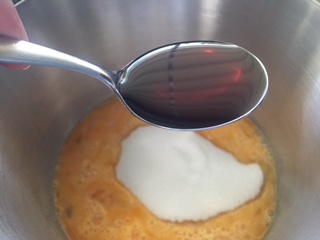
1 tablespoon of vanilla extract

Mahleb – or Mahlepi in Greek

Add 1 1/2 tablespoons of Mahelb
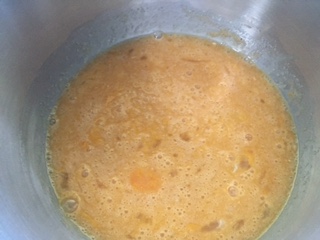
Stir mixture
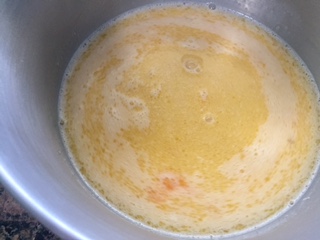
Add the milk mixture and melted butter
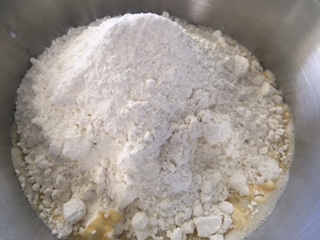
Next, add 6 cups of flour to the liquid

Using a wood spoon, combine the ingredients together. This will be quite sticky.

Turn the dough out onto a floured surface and knead until no longer sticky (about 5 minutes) – you may need more flour depending on the weather.

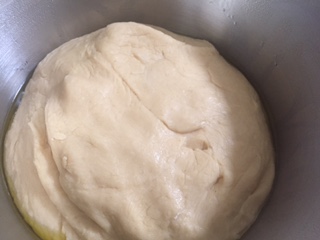
Grease a large bowl with butter and add the dough. Cover with cling wrap
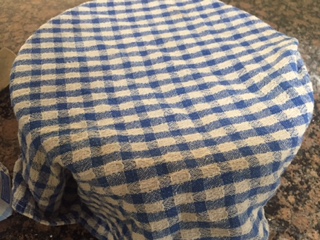
Cover this with a tea-towel. Let dough sit for 5-7 hours so it doubles in size.
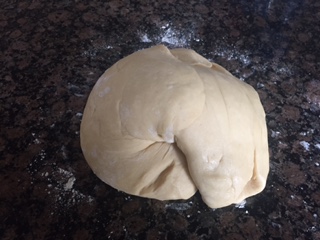
Turn dough out onto a lightly flour surface and knead.

Divide the dough into 3, and then into 3 sections again
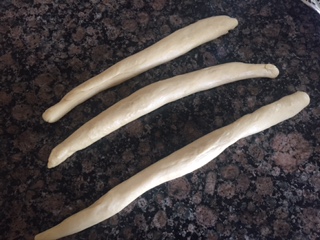
Roll out into about 30-40cm ropes.

Braid the ropes and then turn into a circle. Put onto a baking tray with grease-proof paper and then cover with a tea-towel. Let sit for 20-25 minutes.
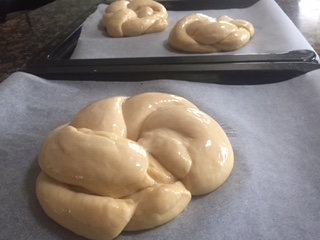
Preheat oven to 180C. Then make an eggwash – using one egg white and a tiny bit of water and brush onto the loaves.

Bake for 25-30 minutes, or until dark and golden on top (so baking time may vary with your oven). Remove from oven and let cool on wire cooling rack.
Then eat with some butter or jam – cherry is my favourite!
- Posted in: Cooking
- Tagged: Armenia, Armenian Easter, Baking, Bread, Cheoreg, Cooking, Creativity, Easter, Easy Recipes, Sweets, Traditions

Recent Comments